What Exactly Is “Glass Hair”?
Before diving into techniques, let’s clarify what we’re aiming for. True “glass hair” has several distinct characteristics:
- Mirror-like reflectivity: Hair reflects light evenly, creating that distinctive shine
- Smooth surface: No flyaways, frizz, or roughness disrupting the sleek silhouette
- Movement with structure: The hair moves naturally but maintains its sleek form
- Healthy appearance: Doesn’t look greasy, stiff, or artificially coated
The difference between glass hair and simply straight hair is that polished, light-reflecting quality. Think of it like the difference between a matte wall and a glossy painted surface—both are smooth, but only one reflects light brilliantly.
Why Heat Styling Works Against You in the Long Run
Many glass hair tutorials rely heavily on flat irons and blow dryers, which deliver instant results but create a problematic cycle:
- Heat opens and damages the hair cuticle (the outermost protective layer)
- Damaged cuticles can’t naturally reflect light properly
- More products are needed to create artificial shine
- These products build up, requiring more aggressive washing
- Aggressive washing strips natural oils, creating dryness
- More heat styling is used to tame the dryness
This cycle eventually leaves hair dependent on heat styling to look good—exactly what we want to avoid.
“I used to flat iron my hair daily for that glass effect,” shares Jamie, who tested our heat-free method. “Within three months, my ends were breaking off and my shine was completely artificial. After switching to this no-heat approach, my natural shine has returned, and my hair actually holds the glass look longer.”
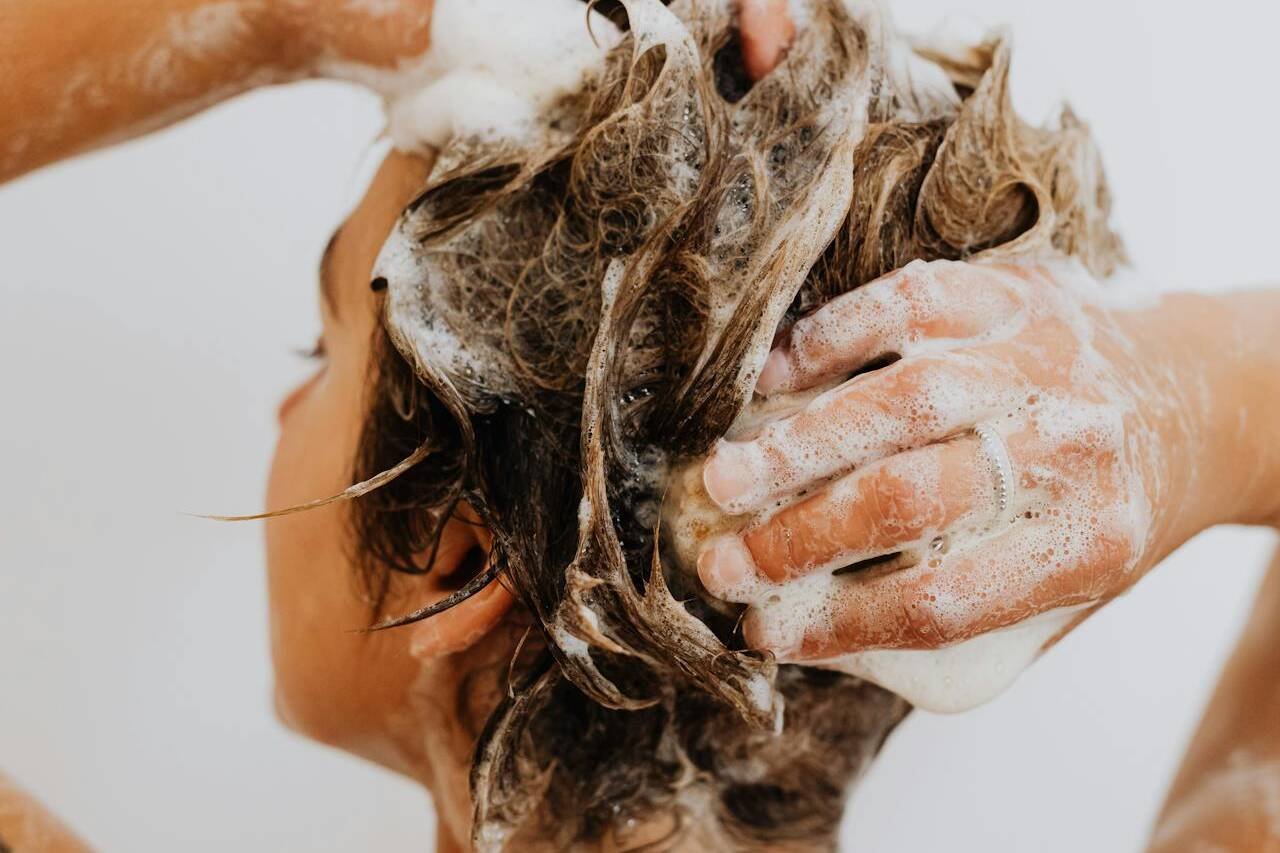
Step 1: Start with the Right Cleansing Foundation
The glass hair journey begins in the shower with proper cleansing. This crucial first step sets the stage for everything that follows:
Choose a Shine-Enhancing Shampoo
Look for a shampoo specifically formulated to enhance shine without stripping natural oils. Glass Effect Shampoo is ideal because it contains:
- Betaine: Gently cleanses without disrupting your hair’s natural moisture balance
- Wheat Protein: Helps temporarily fill in damaged areas of the hair cuticle
- Aloe Juice: Creates a light, reflective coating while providing hydration
Perfect Your Washing Technique
How you wash matters just as much as what you wash with:
- Fully saturate your hair before applying shampoo (many people skip this crucial step)
- Focus shampoo application on your scalp, not the lengths and ends
- Massage gently using fingertips, not nails, to avoid roughing up the cuticle
- Rinse thoroughly until water runs clear (product residue is a major shine-killer)
The Temperature Matters
Water temperature plays a surprisingly important role in achieving glass hair:
- Use lukewarm water for washing (hot water strips too much natural oil)
- Finish with a 30-second cool water rinse to help the cuticle lie flat
- If you can tolerate it, a final cold water rinse maximizes shine immediately
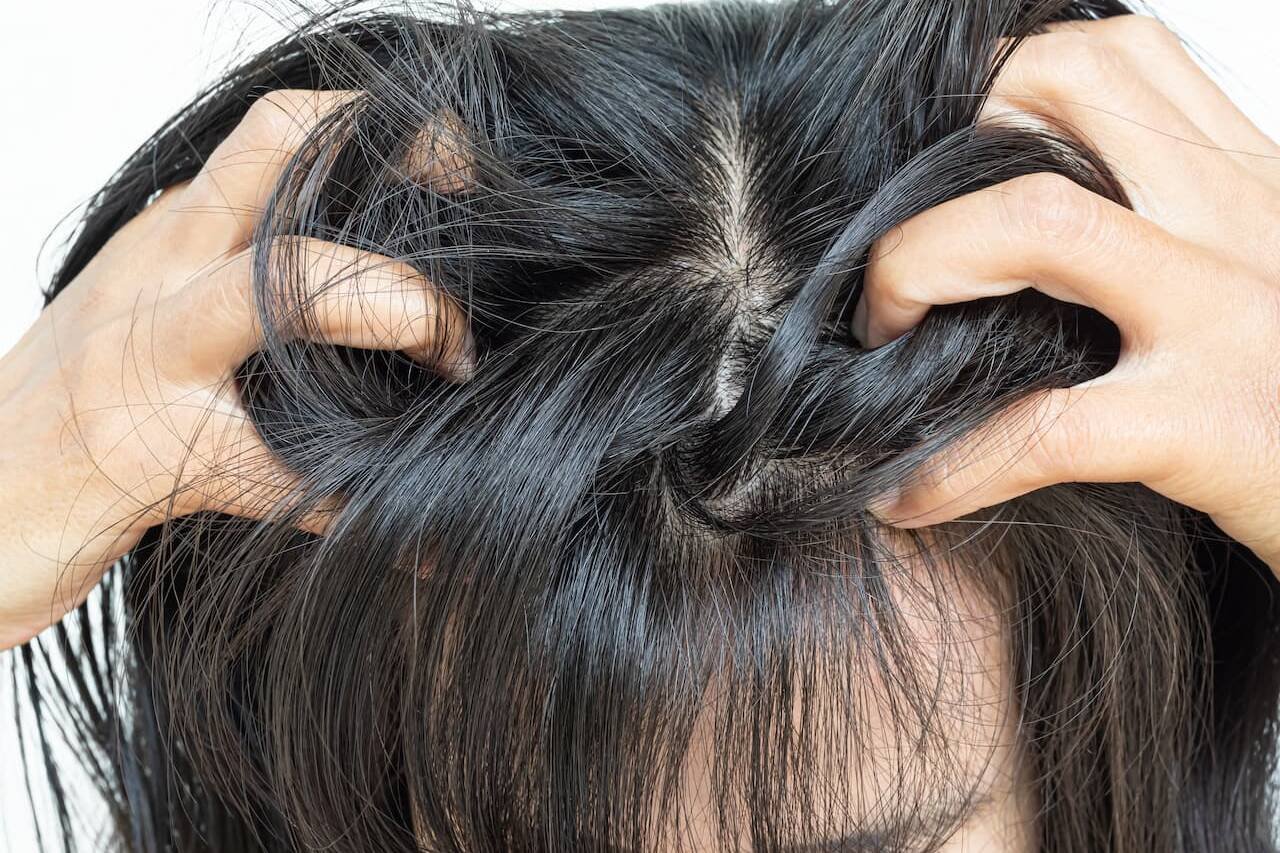
Try the Double-Cleanse Method
For maximum glass effect, especially if you use a lot of styling products:
- First wash: Use a small amount of shampoo to remove surface buildup
- Rinse completely
- Second wash: Use Glass Effect Shampoo and allow it to sit for 1-2 minutes
- Rinse thoroughly with progressively cooler water
“The difference I noticed after starting the double-cleanse method was immediate,” reports Sophia, another tester. “My hair felt lighter and reflected light better because there wasn’t any invisible residue dulling the surface.”
Step 2: Master the Conditioning Phase
Conditioning is where many glass hair attempts fail—either from too little conditioning (leaving hair rough) or too much (weighing hair down). Here’s how to find the perfect balance:
Select the Right Conditioner
Glass Effect Conditioner is formulated specifically for creating that glass-like finish because it:
- Contains Panthenol that hydrates without heaviness
- Uses Wheat Protein to smooth the cuticle surface
- Features Betaine to balance moisture levels
Apply Conditioner Strategically
The application method significantly impacts your results:
- Squeeze excess water from hair before applying conditioner
- Focus conditioner on mid-lengths to ends only (unless you have very dry hair)
- Use more conditioner on ends and less as you move toward the scalp
- Comb through with a wide-tooth comb to ensure even distribution
- Allow 2-3 minutes of processing time (set a timer—most people rinse too quickly)
The Rinse-Out Technique
How you rinse makes a dramatic difference in shine results:
- Rinse with cool water (the cooler, the better for shine)
- Rinse until the water runs clear but hair still feels slightly slippery
- Don’t over-rinse (a tiny amount of conditioner left in creates shine)
- Finish with the coldest water you can tolerate for 10-15 seconds
Deep Conditioning Preparation
Once weekly, prepare hair for maximum glass effect with a deeper treatment:
- After shampooing, apply Glass Effect Conditioner generously
- Cover with a shower cap or wrap in a warm towel
- Allow 15-20 minutes for deeper penetration
- Rinse with cool water as described above
“I was skeptical about conditioning making such a difference,” admits Taylor, who tested the method. “But when I started following these exact steps, especially the cool water rinse, my hair reached a level of shine I’d only achieved before with a flat iron.”
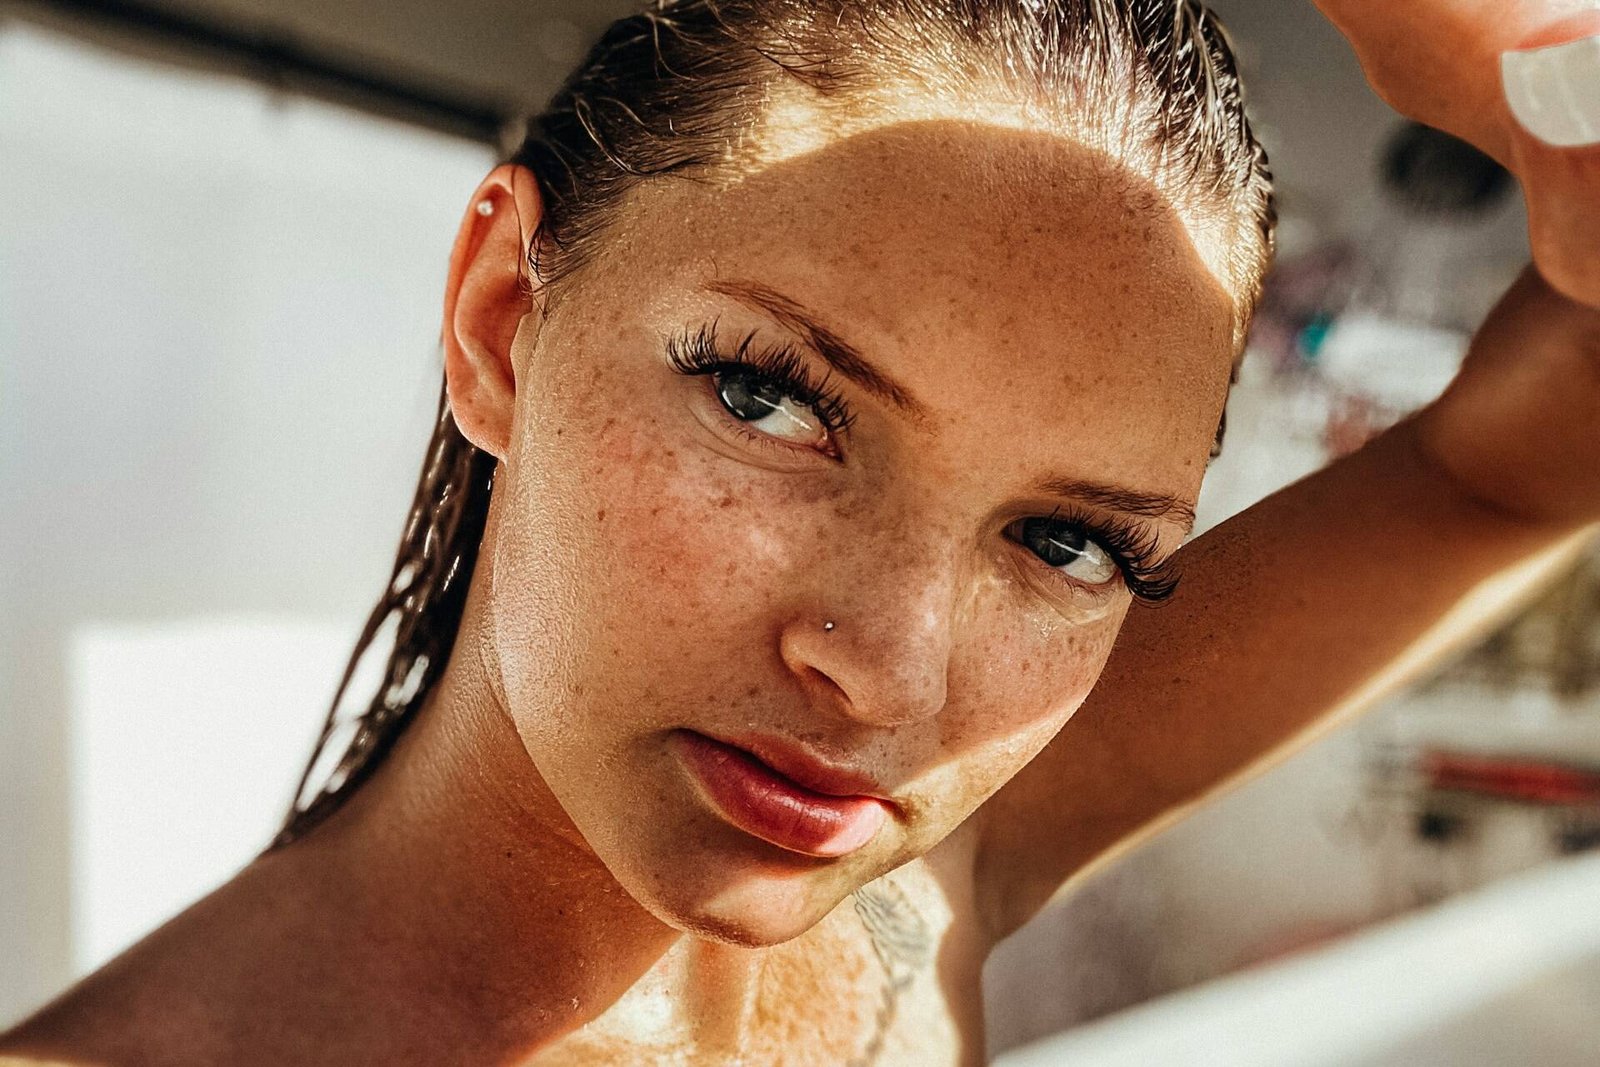
Step 3: Perfect Your Wet Hair Routine
What you do immediately after showering significantly impacts your glass hair results:
Drying Without Disrupting the Cuticle
The way you towel-dry can make or break your glass hair attempt:
- Never rub hair with a regular towel (this raises the cuticle and creates frizz)
- Gently squeeze out moisture with a microfiber towel or old t-shirt
- Pat, don’t rub to remove excess moisture
- Allow hair to remain slightly damp for product application
Apply the Right Leave-In Products
Product selection and layering order is crucial:
- First layer: Apply a small amount of lightweight leave-in conditioner or detangler
- Second layer: Use a pea-sized amount of shine-enhancing serum or oil, focusing on ends
- Optional third layer: For very frizz-prone hair, apply a small amount of smoothing cream
“Less is more with products for glass hair,” notes Alex, a fine-haired tester. “I found that using tiny amounts—much less than I thought necessary—and focusing on even distribution gave me better results than applying more product.”
Detangling Without Creating Frizz
How you detangle wet hair directly affects its shine potential:
- Always use a wide-tooth comb, never a brush on very wet hair
- Start detangling from the ends, gradually working up to the roots
- Use gentle, small strokes rather than forcing the comb through tangles
- Support sections with your hand to prevent pulling and breakage
The Crucial Product Distribution Step
Even the best products won’t create glass hair if poorly distributed:
- Section hair into 4-6 parts using clips
- Work with one section at a time for thorough coverage
- Use a wide-tooth comb to distribute products evenly from roots to ends
- Pay special attention to ends as they need the most help reflecting light
Step 4: Drying Techniques That Maximize Shine
Drying hair without heat requires more patience but delivers better long-term results:
Air-Drying with Purpose
This isn’t just about letting hair dry on its own—it’s strategic:
- Keep hair loosely gathered to prevent frizz from movement
- Reapply a tiny amount of serum to nearly-dry hair if needed
- Avoid touching hair while it dries (this introduces frizz)
- Position hair how you want it to set while still slightly damp
The Microfiber Wrap Technique
For straighter hair types, this method creates tension without heat:
- Gently comb thoroughly detangled hair straight back from your face
- Wrap hair around your head in a circular direction, keeping it smooth
- Secure with soft clips (not elastic which creates dents)
- Cover with a microfiber towel or cap
- Leave wrapped until 80% dry
The T-Shirt Plop Method for Waves and Curls
For naturally textured hair, this creates definition without frizz:
- Lay a cotton t-shirt on a flat surface
- Bend forward and lower your hair onto the center of the shirt
- Fold the shirt around your hair, creating a gentle “plop”
- Secure the ends of the shirt without creating tension
- Leave for 20-30 minutes (not until completely dry)
Minimal-Heat Drying Option
If you must use some heat, here’s the lowest-damage approach:
- Allow hair to air-dry to 80% dry
- Use a blow dryer on the coolest setting to finish
- Keep the dryer moving constantly
- Direct airflow down the hair shaft (not against it) to smooth the cuticle
- Finish with a cool shot to set the style
Step 5: Non-Heat Styling Methods for Mirror-Like Finish
These techniques create that glass-like smoothness without damaging heat:
The Tension Wrap Method
This technique creates straight, glass-like results on most hair types:
- Start with slightly damp hair (about 80% dry)
- Apply a tiny amount of Glass Effect-friendly oil to your palms
- Section hair and comb each section straight
- Wrap each section around your head in a circular motion
- Secure with long bobby pins or soft clips
- Cover with a silk scarf and sleep overnight or sit under a hooded dryer on cool setting
The Roller Set Method
For volume with glass-like shine:
- Apply a lightweight setting lotion to damp hair
- Set hair on large magnetic rollers (larger rollers = smoother results)
- Allow to fully air-dry or use a hooded dryer on cool setting
- Remove rollers when completely dry
- Gently brush through with a boar bristle brush
The Banding Method
Great for textured hair types:
- Divide nearly-dry hair into 4-8 sections
- Apply a small amount of anti-frizz serum to each section
- Stretch each section and wrap with soft fabric hair ties every few inches
- Leave until completely dry
- Remove bands and gently separate with fingers or a wide-tooth comb
The Stretched Twist Method
Perfect for curly hair seeking elongated, shiny definition:
- Apply leave-in products to very damp, detangled hair
- Divide into 6-10 sections
- Twist each section firmly from root to end
- Stretch and clip the end of each twist to maintain tension
- Allow to fully dry before releasing
“As someone with 3C curls, I never thought ‘glass hair’ was possible for me,” shares Jordan, who tested the methods. “The stretched twist method gave me the most incredible shine—my curls were defined but had that reflective quality I’d always envied in straight hair.”
Step 6: Overnight Techniques for Waking Up with Glass Hair
These nighttime routines help you wake up with smoother, shinier hair:
The Silk Wrap Method
This technique preserves and enhances shine while you sleep:
- Apply a pea-sized amount of lightweight oil to nearly-dry or dry hair
- Brush hair smoothly around your head in a circular direction
- Secure with long bobby pins or soft clips
- Wrap with a silk scarf
- Sleep on a silk pillowcase for added smoothness
The Pineapple-Plus Method
Great for wavy and curly hair types:
- Gather hair very loosely at crown (like a loose pineapple)
- Secure with a silk scrunchie
- Cover with a silk bonnet or scarf
- Sleep on a silk pillowcase
- In the morning, remove scrunchie and shake out gently
- Apply a tiny amount of shine serum to hands and smooth over hair
The Twisted Bun Method
Works well for most hair types:
- Apply a small amount of Glass Effect-friendly styling cream
- Twist hair into a loose bun at the crown of your head
- Secure with soft scrunchie or pins
- Cover with silk scarf if desired
- In the morning, unwrap and gently finger-comb
“The twisted bun technique transformed my morning routine,” reports Jamie. “Instead of spending 30 minutes with a flat iron, I wake up, release the bun, smooth a bit of serum through my ends, and I’m done—with better results!”
Step 7: Maintenance and Protection Strategies
Maintaining glass hair requires protecting it throughout the day:
Daytime Protection Essentials
These habits preserve your shine all day long:
- Use a silk scrunchie instead of elastic hair ties
- Apply a UV protectant if spending time outdoors
- Avoid touching your hair throughout the day
- Carry a small boar bristle brush for touch-ups
- Keep a travel-size shine spray for afternoon refreshes
Weekly Maintenance Routine
One day a week, give your hair this special treatment:
- Do a double cleanse with Glass Effect Shampoo
- Apply Glass Effect Conditioner and leave on for 15 minutes
- Apply a lightweight hair mask focusing on ends
- Rinse with the coldest water possible
- Apply leave-in products and air-dry
Protecting Against Shine Disruptors
Be aware of these common shine-killers:
- Hard water: Consider a shower filter to prevent mineral buildup
- Pollution: Wear a hat or scarf in heavily polluted areas
- Chlorine: Wet hair with fresh water before swimming
- Humidity: Use anti-humidity products on potentially damp days
- Hat hair: Line hats with silk to prevent friction
Customizing for Your Hair Type
Different hair types need slightly different approaches:
For Fine, Straight Hair
- Use minimal product to avoid weighing hair down
- Focus on root volume to prevent flat appearance
- The tension wrap method usually works best
For Medium, Straight to Wavy Hair
- Balance moisture and protein for optimal results
- Alternate between methods based on weather conditions
- The roller set or wrap method typically gives best results
For Thick, Straight to Wavy Hair
- Focus on thorough detangling while wet
- Section hair for more effective product distribution
- The banding method often works well
For Curly and Coily Hair
- Prioritize moisture for optimal light reflection
- Define curls before stretching for best results
- The stretched twist method typically provides the glassiest finish
“As someone with fine hair, I was afraid glass hair methods would leave me flat,” explains Riley. “But by focusing on root volume and using minimal product, I achieved the shiny look while maintaining body.”
Troubleshooting Common Issues
Solutions to typical glass hair challenges:
Problem: Hair Looks Greasy Instead of Glossy
Solution:
- Use less product (start with half what you think you need)
- Focus products on mid-lengths to ends only
- Double-cleanse on your next wash day
Problem: Can’t Get Enough Shine
Solution:
- Try the cool water rinse technique more consistently
- Add a weekly deep conditioning treatment
- Use a boar bristle brush to distribute natural oils
- Consider a clear gloss treatment (semi-permanent, non-damaging)
Problem: Glass Look Doesn’t Last All Day
Solution:
- Try the overnight methods instead of day styling
- Protect hair from humidity and friction during the day
- Use a silk-lined hat or scarf when outdoors
- Apply a tiny amount of lightweight oil midday
Problem: Hair Feels Rough Despite Following Steps
Solution:
- Add more conditioning time (leave on for 5+ minutes)
- Try a protein-free deep conditioner if over-proteined
- Consider a bond-building treatment for damaged hair
- Focus on ends with additional conditioning
Frequently Asked Questions
How long does it take to see results from heat-free glass hair methods?
Some shine improvement is visible immediately after your first proper wash and conditioning session. More significant results develop over 2-3 weeks as you consistently follow the methods. Hair that’s heavily heat-damaged may take 4-6 weeks to show dramatic improvement.
Do I have to give up heat styling completely?
While these methods focus on heat-free techniques, occasional heat styling won’t undo your progress. If you do use heat, always use a heat protectant, keep tools below 350°F/175°C, and make sure hair is completely dry before applying heat.
Will these methods work on color-treated hair?
Absolutely! In fact, these techniques are ideal for preserving color. The gentle cleansing, cool water rinses, and cuticle-sealing methods help lock in color molecules while enhancing shine.
How often should I wash my hair for maximum glass effect?
There’s no one-size-fits-all answer. Most people achieve best results washing 2-3 times weekly, but this varies based on hair type, scalp condition, and lifestyle. Focus on using the right products and techniques rather than increasing frequency.
Are these methods suitable for very short hair?
Yes, though some techniques (like wrapping) need modification. For short styles, focus on the cleansing, conditioning, and product application steps, then style using a boar bristle brush to create maximum shine.
Glass hair doesn’t have to come at the expense of hair health. By following these heat-free techniques, you’re not just creating a temporary visual effect—you’re improving your hair’s condition with every application. The ultimate achievement is hair that shines brilliantly without needing heat tools or excessive product.
What heat-free styling methods have you tried for shiny hair? Share your experiences in the comments below!
Related Articles
June 29, 2025
The Complete Guide to Post-Workout Hair Washing
Why Most People Are Washing Their Hair Wrong? You've invested time in…
June 7, 2025
How to Tell If You Have a Sensitive Scalp: 7 Warning Signs You Shouldn’t Ignore
Does your scalp feel uncomfortable after washing your hair? Do certain products…
May 17, 2025
Why Your Water Quality Might Be Sabotaging Your Hair Shine (And What to Do About It)
Is your shower secretly stealing your hair's shine? The water flowing through…